
5 Steps How to Perform a DIY Soil Health Assessment and Revive Your Lawn (Easy Guide for Homeowners)
By Jeremy Standring
For many homeowners, a lush green lawn is the ultimate goal, but often the path to achieving it is paved with synthetic chemicals and temporary fixes. At Regen Soil, we believe that the secret to a thriving landscape isn't found in a bag of high-nitrogen fertilizer; it is found within the soil itself. We view the lawn not just as a carpet of grass, but as a complex, living ecosystem.
When we talk about regenerative agriculture principles applied to your backyard, we are moving away from "dirt", which is just geological material, and moving toward living soil. Living soil is a biological engine powered by a diverse microbial population that facilitates nutrient cycling and promotes long-term soil restoration.
Before you spend another dollar on treatments, we recommend performing a DIY soil health assessment. This five-step guide will help you diagnose the root causes of your lawn’s struggles and provide the data needed to build a custom restoration plan.
The "Systems Thinking" Approach to Soil
To understand your lawn, you must understand the Rhizosphere, the narrow region of soil directly influenced by root secretions and associated soil microorganisms. In a healthy system, plants trade carbon (sugars) for nutrients provided by fungi and bacteria. When this relationship breaks down, the lawn becomes "addicted" to synthetic inputs.
Our goal with this assessment is to determine if your soil has the structural, chemical, and biological capacity to support a self-sustaining ecosystem.
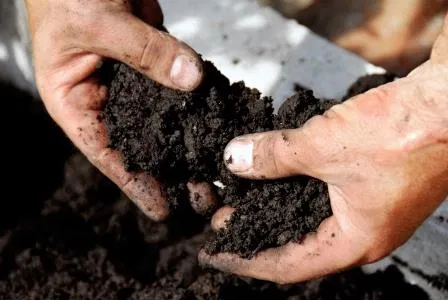
Step 1: Visual Assessment and Soil Structure (The Clump Test)
The first step in any soil health evaluation is to get your hands dirty. We are looking for soil aggregation, which is the way soil particles (sand, silt, and clay) bind together.
What to do:
- Dig a small, square hole about 6 inches deep and 6 inches wide.
- Carefully lift out a "slice" of the soil and place it on a tarp or flat surface.
- Observe the color and the way the soil holds together.
What to look for:
- Healthy Soil: Dark, chocolate-brown color (indicating high organic matter) and a "crumbly" texture similar to chocolate cake or cottage cheese. These "crumbs" are aggregates held together by glomalin, a "soil glue" produced by mycorrhizal fungi.
- Unhealthy Soil: Pale or greyish color, or soil that comes out in large, hard, blocky clods. If the soil is powdery or looks like dust, it lacks the biological structure needed to hold water and nutrients.
Step 2: Test Soil Drainage (The Percolation Test)
Compaction is the silent killer of lawns. When soil is compacted, there is no room for oxygen, which leads to anaerobic conditions where pathogens thrive and beneficial living soil organisms die.
How to perform the Percolation Test:
- Dig a hole 12 inches deep and 6 inches wide.
- Fill the hole with water and let it drain completely (this saturates the surrounding soil).
- Refill the hole and measure how long it takes for the water level to drop.
Analyzing the results:
- Ideal: 1 to 3 inches of drainage per hour. This indicates a good balance of macropores and micropores.
- Poor Drainage: Less than 1 inch per hour. This suggests heavy clay or severe compaction. You likely have a lack of soil restoration and your grass roots are likely suffocating.
- Excessive Drainage: More than 4 inches per hour. This usually happens in sandy soils where nutrients wash away before plants can use them.
Step 3: Determine Soil pH (The Kitchen Chemistry Test)
While a professional lab test via our Initial Soil Health Assessment is most accurate, you can gauge your soil’s acidity or alkalinity at home using common items. pH is critical because it dictates nutrient availability.
The Vinegar and Baking Soda Test:
- Collect two soil samples in separate bowls.
- For Alkalinity: Add 1/2 cup of vinegar to the first bowl. If it fizzes, your soil is alkaline (pH > 7.0).
- For Acidity: Add enough distilled water to the second bowl to make a slurry, then add 1/2 cup of baking soda. If it bubbles, your soil is acidic (pH < 7.0).
If neither reacts, your soil is likely in the "neutral" range (6.0 to 7.0), which is the sweet spot for most turfgrasses to maximize nutrient cycling.
Step 4: Analyze Soil Texture (The Jar Test)
Soil texture, the ratio of sand, silt, and clay, is a permanent physical property. Understanding your texture helps you manage water and decide which Rhizo Logic® products will be most effective for your specific environment.
The Jar Test Method:
- Fill a clear quart jar 1/3 full with soil (remove rocks and roots).
- Add water until the jar is almost full, plus a drop of dish soap to help particles separate.
- Shake vigorously for 5 minutes and let it sit for 24 hours.

The Layers:
- Bottom Layer (Sand): Settles in about 1 minute.
- Middle Layer (Silt): Settles in about 2 hours.
- Top Layer (Clay): Settles in 24 hours.
- Floating Organic Matter: Indicates the "living" potential of your soil.
We aim for "Loam", a balanced mix that provides both drainage and nutrient-holding capacity (Cation Exchange Capacity).
Step 5: Check Biological Activity (The Worm Count)
Earthworms are the "engineers" of the soil. Their presence is a direct indicator of the health of your soil microbiome.
What to do:
- Dig a hole exactly 1 foot deep and 1 foot wide.
- Place the soil on a tarp and sift through it carefully with your hands.
- Count every earthworm you find.
The Benchmarks:
- 10+ Worms: Excellent biological activity. Your soil is likely rich in organic matter and microbial life.
- 0-5 Worms: Poor biological health. This soil is essentially sterile and needs a biological "recharge."
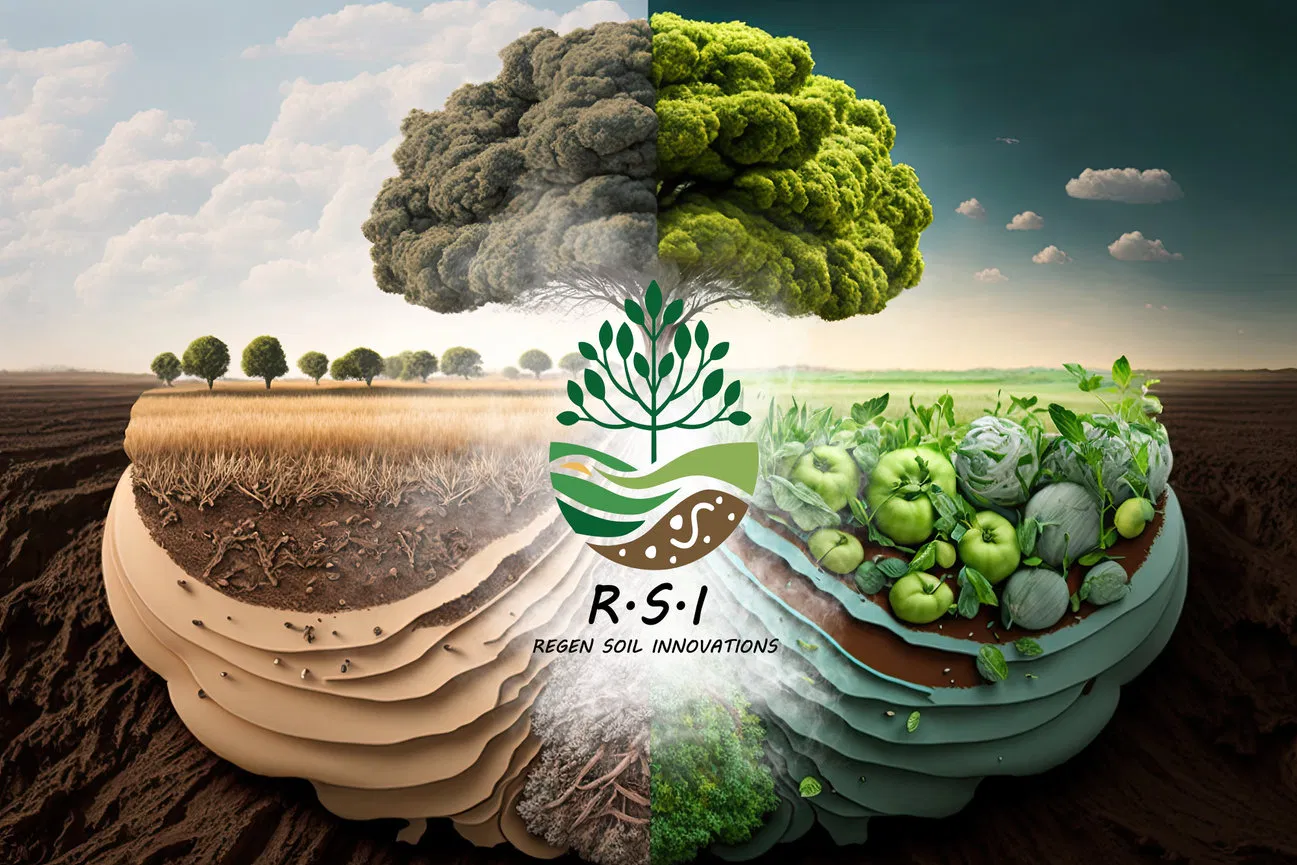
Comparison: Traditional Fertilizers vs. Soil Restoration
Many homeowners fall into the trap of using synthetic "A vs. B" comparisons without looking at the long-term impact.
| Feature | Traditional Synthetic Fertilizers | Regen Soil Restoration Approach |
|---|---|---|
| Primary Goal | Green grass color (short-term) | Soil health and resilience (long-term) |
| Mechanism | Direct nutrient injection (Salts) | Building a living soil ecosystem |
| Water Usage | Usually increases water demand | Increases water retention and infiltration |
| Environmental Impact | Runoff into local waterways | Sequestration of carbon and nutrients |
| Frequency | Needs constant re-application | Self-sustaining over time |
We have found that transitioning to a biological approach using Rhizo Logic® (our flagship living soil) or Bio-boost (a powerful Terrabiotic recharge) significantly reduces the long-term maintenance costs and labor for homeowners.
How to Revive Your Lawn Based on Your Assessment
Once you have your results, it's time to take action.
For Beginners: The "Top-Dress and Boost"
If your worm count is low and your soil is compacted, we recommend top-dressing with a thin layer of compost mixed with Rhizo Logic® Living Soil. Follow this with an application of Ultra Bio-boost Soil Recharge to kickstart the microbial colonization of the root zone.
For Experienced Growers: The "Precision Recharge"
If your pH is off or your texture is heavy clay, you may need a more aggressive aeration strategy followed by a liquid biological injection. We suggest using our Bio-boost products to deliver concentrated microbes directly into the root zone where they can begin the work of breaking up compaction.
Deep Dive: The Power of Rhizo Logic®
Why do we emphasize Rhizo Logic®? Because it isn't just dirt; it is a proprietary blend designed to inoculate your yard with the specific fungi and bacteria that have been stripped away by years of chemical use. When you apply Rhizo Logic®, you are essentially performing a "microbiome transplant" for your lawn. You can learn more about the science behind this in our guide: The Magnificent Microbiome.
FAQ: Common DIY Soil Assessment Questions
Q: How often should I perform these tests? We recommend a full DIY assessment once a year in the spring. However, for those tracking a serious restoration project, a quick "clump test" every six months can help you visualize the improvement in soil structure.
Q: Can I do this if my lawn is already dead? Yes! In fact, that is the best time. A "dead" lawn is often just a dormant or starving ecosystem. By assessing the soil now, you can prepare the ground for a successful reseeding or sodding using the RSI Method.
Q: Do I need a professional test if I do the DIY one? The DIY tests are excellent for "field observations," but for precise nutrient levels (like Phosphorus or Potassium) and heavy metal screening, we still recommend our Initial Soil Health Assessment.
Take the First Step Toward a Living Lawn
A healthy lawn starts under the surface. By taking 30 minutes this weekend to walk through these five steps, you’ll gain more insight into your property than years of looking at the grass blades ever could.
If your assessment shows low biological activity or poor structure, don't panic. We are here to help you navigate the transition from chemical dependence to biological harmony.
Ready to start your soil restoration journey? Explore our Living Soil collections or contact us today for a personalized consultation. Let's grow something better together.
Feel free to leave a comment below with your test results! We’d love to help you interpret what your soil is trying to tell you.


