Your Quick-Start Guide to the Full Living Soil Patio Kit: Do This First
So, you’ve decided to take control of your food supply and start growing on your patio. Whether you’ve got a massive sun-drenched deck or a tiny apartment balcony, you’re part of a growing movement of people realizing that the "supermarket shuffle" isn't cutting it anymore. We’ve talked before about the empty plate problem, and the best way to fight back is to grow your own nutrient-dense greens right outside your door.
Our Full Living Soil Patio Kit was designed to take the guesswork out of regenerative gardening. But before you start dumping seeds into the dirt, we need to talk about the "Living" part of Living Soil. This isn't a bag of sterile peat moss from a big-box store; this is a complex, breathing biological system.
In this guide, we’re going to walk you through the setup, the science, and the one critical step you must do first to ensure your success.
What’s Inside the Box?
When your kit arrives, you aren't just getting gardening supplies; you're getting a biological foundation. Here’s the breakdown of your new ecosystem:
- Rhizo Logic® Cloth Pot: Designed for maximum aeration and "air-pruning" of roots.
- Rhizo Logic® Organic Living Soil: A proprietary blend of organic matter, minerals, and microbial life.
- Organic Seeds: Selected for high performance in container environments.
- The Inoculant/Hydration Component: The key to "waking up" your soil.
Step 1: Unboxing and Preparing the Rhizo Logic® Cloth Pot
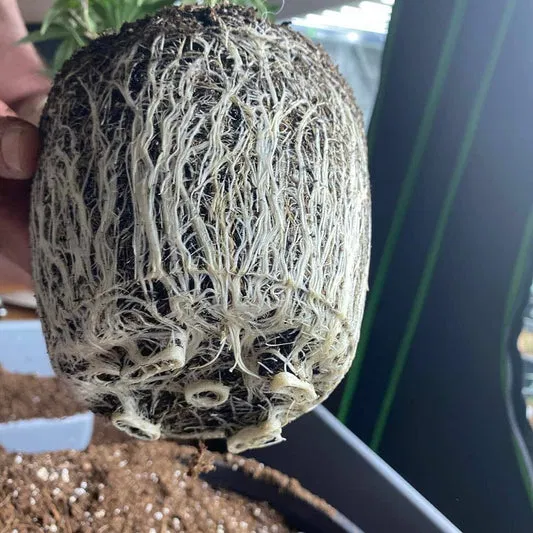
The first thing you’ll notice is the Rhizo Logic® Cloth Pot. Why cloth instead of plastic or ceramic? It comes down to aeration. In a traditional plastic pot, roots grow until they hit the edge, then they start circling the container, eventually becoming "root-bound" and choking themselves out.
In a cloth pot, when the roots reach the side, they are exposed to air. This naturally "prunes" the root tip, encouraging the plant to send out a web of smaller, more efficient feeder roots from the center. This creates a healthy plant root ball with massive surface area for nutrient uptake.
Action: Unfold your pot and give it a quick shake to shape it. Place it exactly where you want your garden to live. Once it’s full of hydrated soil, it’s going to be heavy!
Step 2: Preparing the Rhizo Logic® Living Soil
Open your bag of Rhizo Logic® Organic Living Soil. You’ll immediately notice the texture and smell. It should smell like a forest floor: rich, earthy, and sweet. This is the result of active microbial populations breaking down organic matter.
Unlike "Super Soils," which are often heavily amended with high doses of fertilizers that can "burn" young plants, our living soil focuses on the Soil Food Web. We provide the habitat; the microbes provide the food.
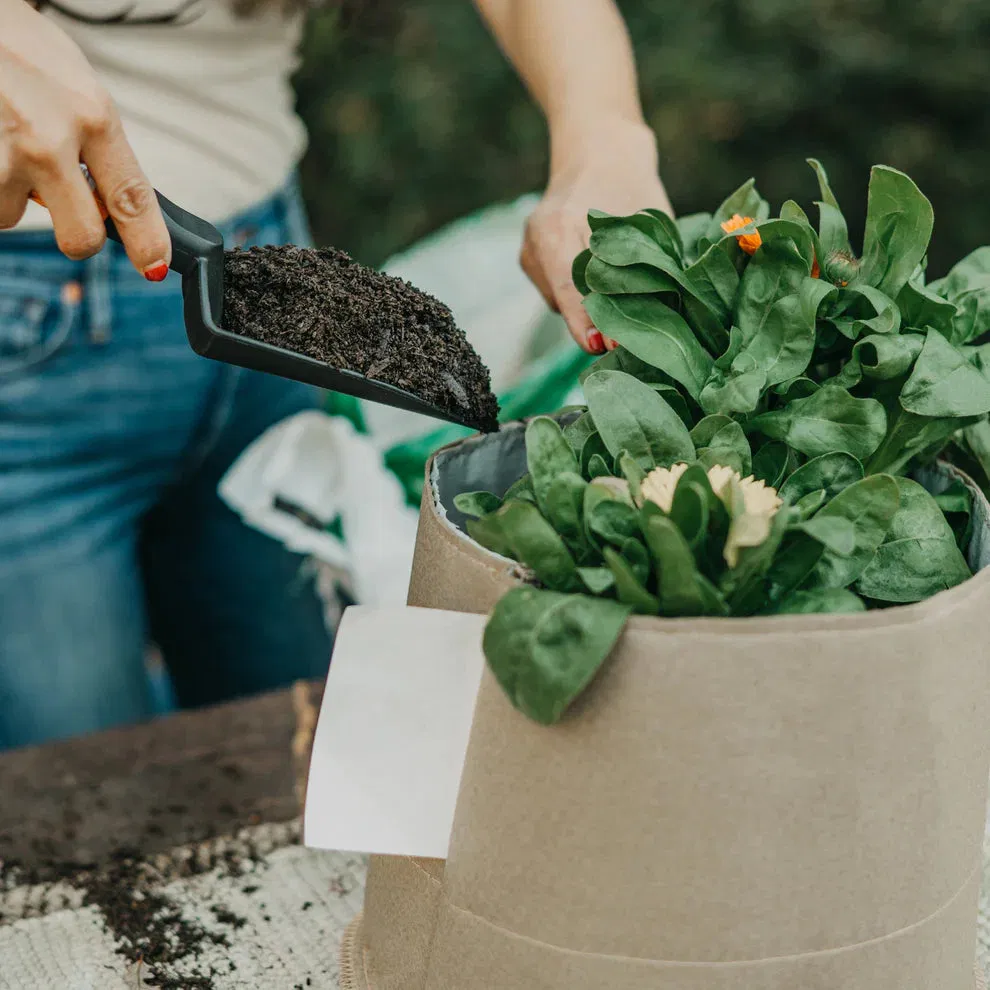
Action: Begin filling your cloth pot. Don't pack it down too hard. We want to maintain soil structure: the tiny pockets of air where oxygen and water can move freely.
Step 3: THE "DO THIS FIRST" STEP – Inoculation and Hydration
If you ignore everything else in this guide, pay attention here. This is where most beginners fail.
Living soil is often shipped in a semi-dormant state to keep it stable. If the soil is dry, the beneficial fungi and bacteria are "sleeping." If you plant seeds into dry soil and just give them a light sprinkle of water, your plants will struggle to find nutrients because the biological "engines" aren't running yet.
The Science of Rehydration
Water acts as the medium for life. To truly activate your kit, you need to achieve even saturation.
- Don't just pour water on top: Dry peat and compost can become hydrophobic (water-repellent).
- The "Slow Drip" Method: Add water slowly. You want the soil to feel like a wrung-out sponge: moist but not muddy.
- Inoculation: This is the perfect time to add your microbial boosters. While Rhizo Logic® soil is already teeming with life, adding a product like Bio-boost (by Terrabiotics) during this first watering provides a concentrated "jumpstart" of beneficial bacteria and protozoa. These microscopic architects will begin building the infrastructure your plant roots need to thrive.
Wait 24 Hours: After your first deep hydration, let the pot sit for a day. This allows the moisture to stabilize and the microbial life to "wake up" and start cycling nutrients.

Step 4: Adding Your Seeds
Now that your soil is hydrated and the microbes are active, it’s time to plant. Your Full Living Soil Patio Kit comes with seeds specifically chosen for their ability to thrive in a living soil environment.
- Depth Matters: Most seeds only need to be planted about twice as deep as they are wide. For small seeds like lettuce or kale, this is barely a dusting of soil on top.
- Spacing: Follow the instructions on your seed packet. Overcrowding can lead to poor airflow and increased risk of pests like fungus gnats.
A Note on Timing: The USDA Zone 6 Rule
We get a lot of questions from growers in USDA Hardiness Zone 6 (parts of the Northeast, Midwest, and Northwest). It’s tempting to see a 70-degree day in mid-April and want to get your plants in the ground immediately.
Don't do it.
While your patio kit is a bit more forgiving because the soil in a pot warms up faster than the ground, we still recommend waiting until May for most "warm-weather" crops.
In Zone 6, our soil temperature often lags far behind the air temperature. Planting too early in cold soil can stunt a plant for its entire life cycle. The microbes in your living soil also perform best when the soil is consistently above 50°F (10°C). If you plant in April and a late frost hits, or if the soil stays at 40°F, those beneficial microbes go right back to sleep, and your seedlings will sit there turning purple from nutrient lockout.
If you absolutely must start early, keep your patio kit near a South-facing wall or bring the pot inside on cold nights.
Why This System Works: The Systems-Thinking Approach
At Regen Soil, we don't look at plants in isolation. We look at the ecosystem. By using a cloth pot and Rhizo Logic® soil, you are creating a miniature version of the most fertile prairies on earth.
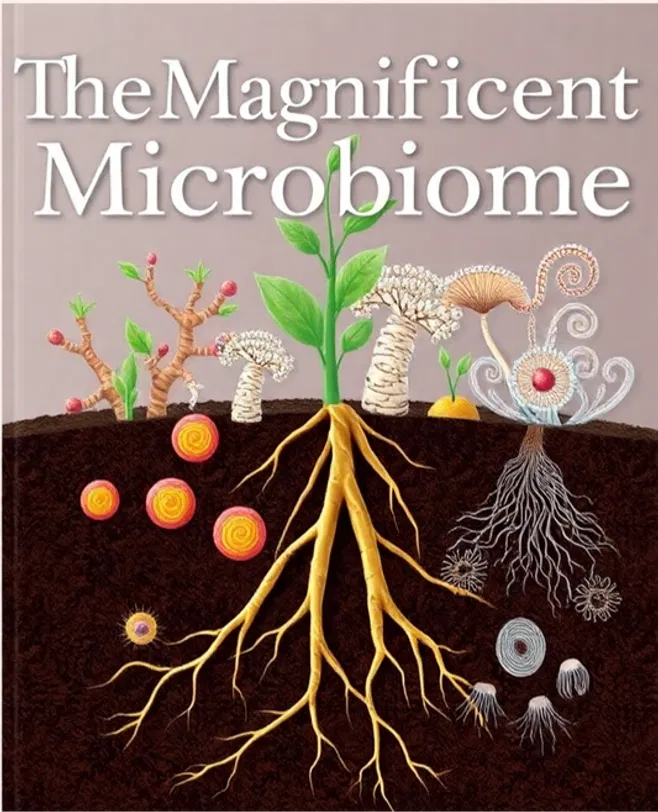
When you use synthetic fertilizers, you are essentially "force-feeding" the plant. In our living soil system, the plant and the microbes enter into a symbiotic relationship. The plant releases "exudates" (sugars) through its roots to feed the bacteria and fungi. In exchange, the microbes mine minerals from the soil and deliver them to the plant in a form it can actually use.
This results in:
- Increased Nutrient Density: Higher levels of vitamins and minerals in your food.
- Pest Resistance: Healthy plants have stronger "immune systems."
- Water Efficiency: Living soil holds onto moisture much better than sterile potting mixes.
Troubleshooting and FAQ for Beginners
"My soil looks like it has white fuzz on top. Is it mold?"
Usually, this is Mycelium: and it’s a great sign! It means the beneficial fungi in your Rhizo Logic® soil are active and breaking down organic matter. Don't kill it; celebrate it!
"How often should I water?"
The "finger test" is your best friend. Stick your finger an inch into the soil. If it feels dry, water it. If it’s moist, leave it alone. The cloth pot will help prevent overwatering by allowing excess moisture to evaporate through the sides.
"Do I need to add more fertilizer later?"
For most leafy greens and herbs, the Rhizo Logic® Living Soil has enough "fuel" for a full season. If you are growing heavy feeders like tomatoes or peppers, you may want to top-dress with some organic compost or Biochar mid-season.
Summary Checklist
- Unpack the Rhizo Logic® Cloth Pot and place it in the sun.
- Fill with Rhizo Logic® Living Soil (keep it fluffy!).
- Hydrate and Inoculate (The "Do This First" step). Wait 24 hours.
- Plant your seeds at the proper depth.
- Observe and enjoy the process of regenerative patio growing.
Growing your own food is a journey, and we’re here to help you every step of the way. If you run into any issues or want to share your progress, drop a comment below or reach out to us! We’d love to see your patio transformations.
Ready to get started? Grab your Full Living Soil Patio Kit here and let's get growing.